


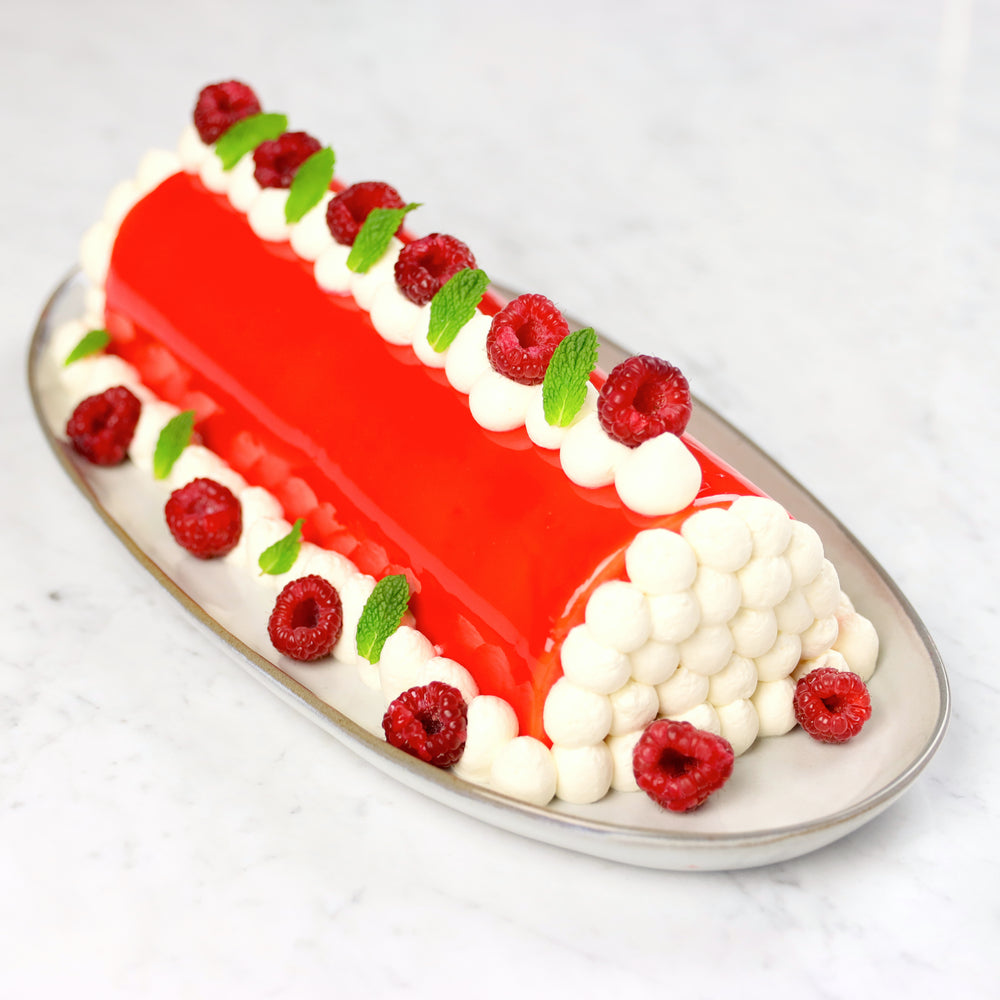


Vanilla Berry Christmas Yule Log
This post may contain affiliate links. Please read our disclosure policy.
Christmas is almost here!
Are you looking for the perfect dessert to impress your guests this holiday season? Look no further! Our Vanilla Berry Yule Log is a show-stopping, elegant dessert that is sure to delight your taste buds.
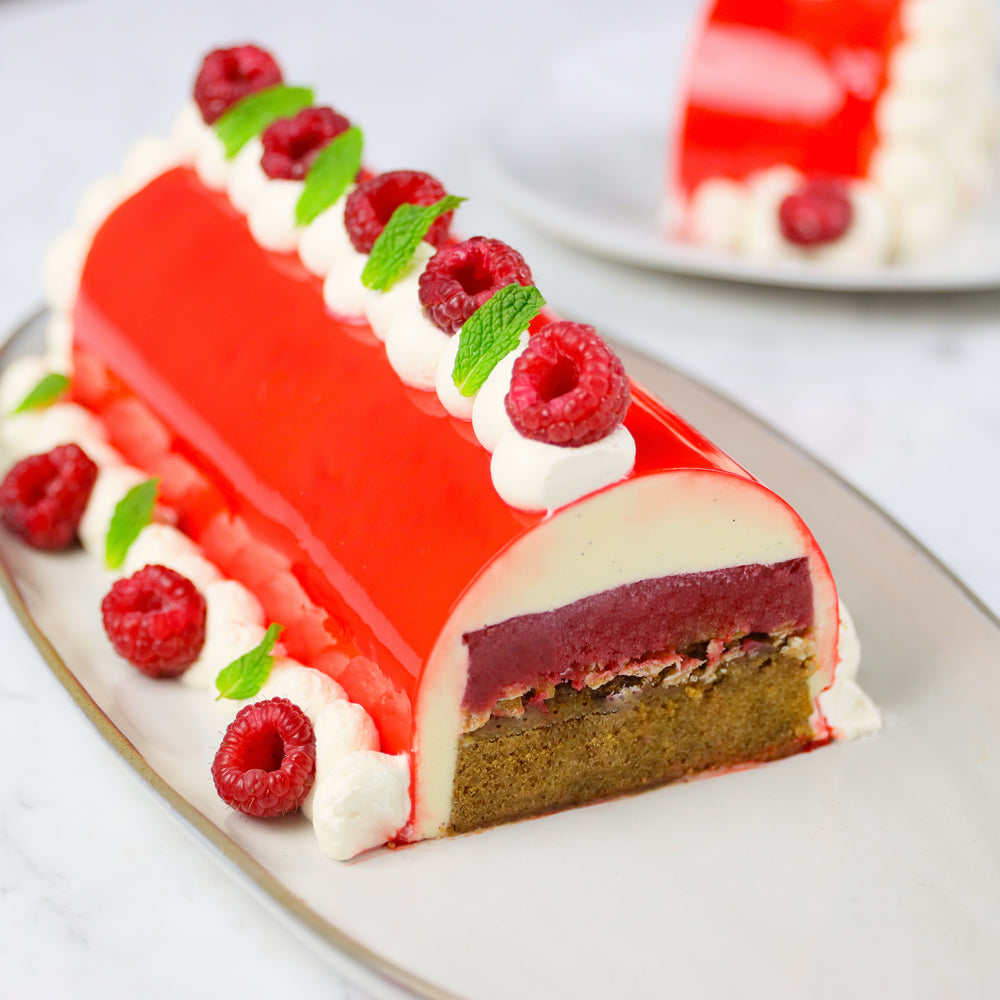
Made with a light and fluffy almond cake, vanilla mousse, and sweet berries jam, this yule log is a delicious twist on the classic "Bûche de Noel". It's the perfect balance of rich and fruity flavors that will have your guests coming back for more.
Best of all, this recipe is easy to follow and can be made in advance, so you can focus on enjoying the holiday festivities with your loved ones.
So why wait? Get your hands on this tasty Vanilla Berry Yule Log recipe and make it the star of your holiday dessert spread. Your guests will be thanking you for it!
Bon appétit!
Difficulty: ![]()
![]()
![]()
Prep time: 2 hr 30 mins / Cook time: 40 mins / Servings: 10 people
- - - - - - - - - - - - - - - - - - - - - - - - - - -
White Chocolate & Vanilla Mousse
3.1 oz (90ml) - Water
1 tbsp (15g) - Gelatin powder
3 - Egg yolks
1.75 oz (50g) - Xylitol
8.8 oz (250ml) - Milk
1 - Vanilla bean
14.5 oz (410g) - White chocolate
10.6 oz (300ml) - Heavy cream
Strawberry Confit
14.1 oz (400g) - Strawberry
2.8 oz (80g) - Xylitol
1.75 oz (50ml) - Water
1 tbsp (15ml) - Corn syrup
0.4 oz (11g) - Pectin
Almond Cake
1.9 oz (54g) - Butter
3.6 oz (102g) - Coconut sugar
3 - Egg whites
¼ tsp (1.25ml) - Almond extract
1.4 oz (40g) - Flour
1.25 oz (35g) - Almond flour
2.5 oz (70g) - Raspberries
White Chocolate Crunch
2.5 oz (70g) - White chocolate
1.75 oz (50g) - Feuilletine
Red Mirror Glaze
6⅓ fl oz (180ml) - Water (to rehydrate the gelatin)
1⅕ oz (36g) - Gelatin powder
5⅓ fl oz (150ml) - Heavy cream
10½ fl oz (300ml) - Water
15 oz (450g) - Sugar
2½ oz (75ml) - Corn syrup
5½ oz (155g) - White chocolate
To taste - Food colorings (red & gold)
Garnish
5.6 oz (160ml) - Heavy cream
1.9 oz (55g) - Greek yogurt
1 oz (30g) - Manuka honey (Tip: Discover The Surprising Benefits of Manuka Honey)
- - - - - - - - - - - - - - - - - - - - - - - - - - -
We advise that you prepare all the above ingredients before starting.
You will typically need: a scale, measuring cups, mixing bowls.
White Chocolate & Vanilla Mousse
1 - Mix the gelatin powder and the water into a small bowl and set it aside to let the gelatin bloom.
Tip: We store our ingredients in these mixing bowls and mini glass bowls from Duralex while cooking. We love Duralex for their quality products and low prices!
2 - Separate the eggs, add the yolks to a medium-sized bowl, and set the whites aside for later.
3 - Add the xylitol to the egg yolks and whisk until light and fluffy.
4 - Pour the milk into a saucepan (or like us a saucier pan) and place it over low heat. Place the vanilla bean on a cutting board and scrape it on both sides with the back of a paring knife. Then, cut it in half and scrape out the vanilla beans using the back of your knife, and add them to the milk.
Tip: All-Clad is the gold standard for professional quality stainless steel cookware. If you want to learn more about All-Clad, check out our detailed article "The Ultimate Buyer's Guide To All-Clad". For more recommended bakeware and cookware, check out our article: "The Best Non-Toxic Pots & Pans: Our Must-Have Cookware List".
5 - Turn the heat up to medium heat and bring the milk to a boil. Then, pour it over the egg mixture, whisk to combine, and return the mixture to the saucepan.
6 - Place the cream back over medium heat and cook it while continuously stirring with a silicone spatula until the temperature reaches 180°F (82°C).
Tip: We recommend using a good kitchen thermometer for accuracy.
7 - Add the white chocolate to a large mixing bowl and pour the cooked cream over it. Then, mix until the chocolate is fully melted and well combined.
8 - Microwave the gelatin mix for about 20 seconds (or until melted) and mix it in the cream. Then, set it aside for later.
Strawberry Confit
1 - Wash and finely dice the strawberries.
2 - Put the diced strawberries, sugar, water, and corn syrup in a saucepan. Mix everything. Then, cook over medium-low heat for about 5 minutes.
Tip: Mix from time to time to prevent the strawberries from sticking to the bottom of the saucepan.
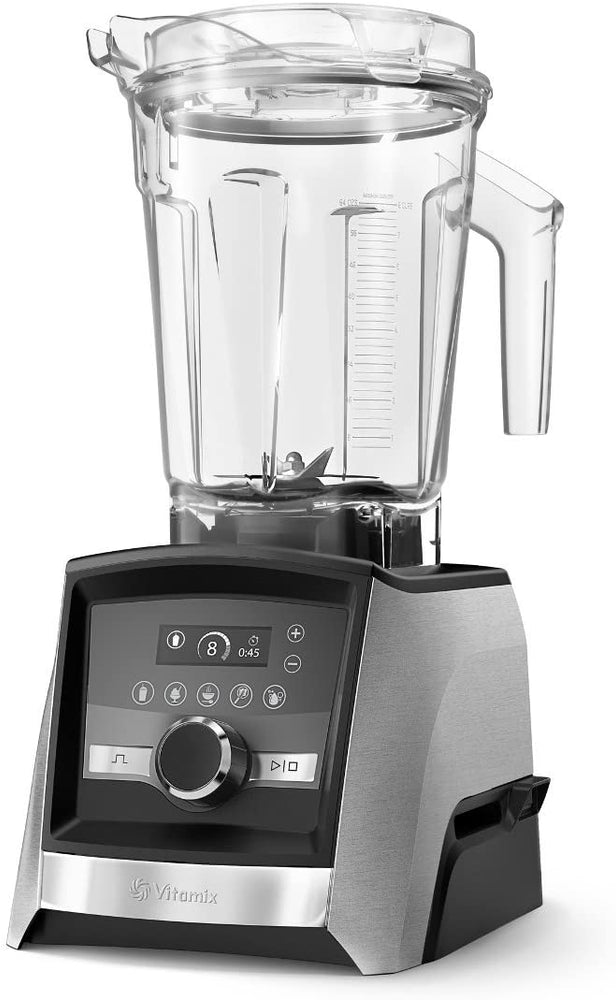
3 - Blend the confit with a blender and put it back in your pan.
Tip: Our must-have hand blender is the Braun Multiquick Technology. Then, add the pectin and bring it to a boil.
4 - Transfer it to a food container and refrigerate it for about 1 hour.
Almond Cake
1 - Preheat your oven to 325°F (160°C).
2 - Add the butter to a small saucepan, place it over low medium heat, and cook until nutty brown. Then, transfer it to a large mixing bowl.
3 - Add the coconut sugar to the butter and quickly whisk to combine.
4 - Next, add the previous egg whites and whisk thoroughly.
5 - Finally, mix in the almond extract, flour, and almond flour. Transfer the cake batter to a silicone loaf pan and place the raspberries on top. Then, bake it at 325°F (160°C) for about 30 minutes. Once baked, let it cool completely at room temperature.
Tip: If you want to learn more about silicone molds, check out our detailed article "What Is Food Grade Silicone And How To Use It: All You Need To Know".
White Chocolate Crunch
1 - Add the white chocolate to a small bowl and microwave it at 30-second intervals until completely melted.
2 - Pour it over the feuilletine and stir until well combined.
3 - Add the crunch on top of the cake and spread it evenly using an offset spatula.
Finalizing the Cake Insert
1 - Transfer the cooled strawberry confit to a piping bag and pipe it on top of the white chocolate crunch. Then, spread it evenly with your spatula before freezing it for about 3 hours.
Assembling The Yule Log
1 - To complete the mousse, add the heavy cream to a large bowl and whisk it until soft peaks.
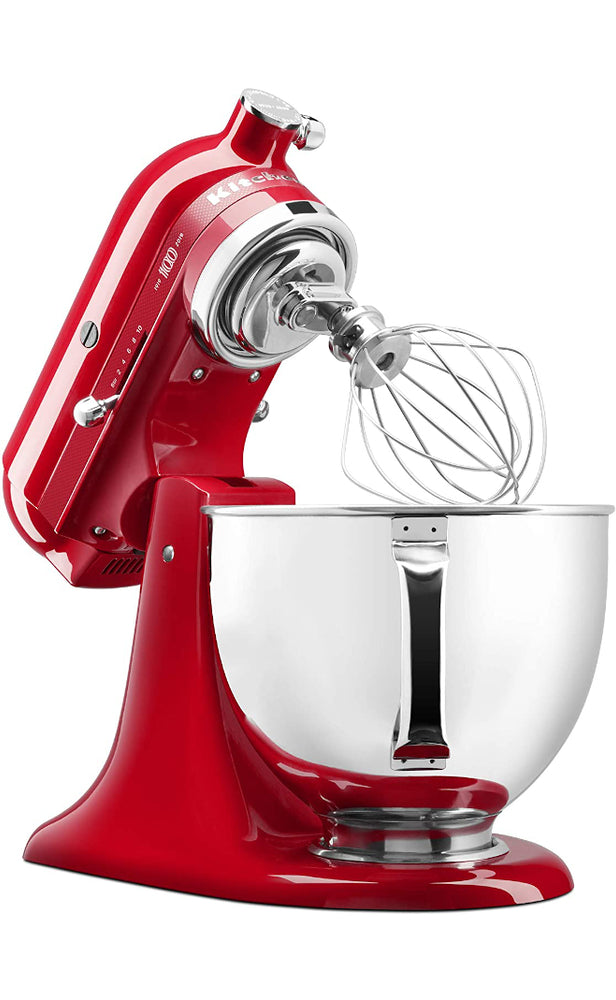
Tip: We recommend this 7-speed hand mixer from KitchenAid for its quality and elegant design.
You may also use a stand mixer. The KitchenAid Artisan Design Series and the KitchenAid Professional 600 Series are superstars among stand mixers and will look amazing in your kitchen! For more information, check out our detailed article "The Best KitchenAid Mixers & Blenders".
2 - Next microwave the mousse base until just melted. The temperature should not exceed 86°F (30°C).
3 - Then, add the whipped cream to the mousse base and whisk vigorously until well combined. Transfer the mousse to a pouring jug and set it aside.
4 - Unmold the cake insert and set it aside.
5 - Place your yule log mold on a plate and fill ⅔ of it with the vanilla mousse.
6 - Finally, carefully add the cake insert upside down, scrape out the excess mousse with your offset spatula and freeze it overnight.
Mirror Glaze
1 - Combine the water and the gelatin powder in a ramekin. Then, mix with a fork until the gelatin is well incorporated into the water. Set it aside for later.
2 - Combine the remaining water, xylitol, heavy cream, and corn syrup in a saucepan. Briefly mix with a spatula and bring the preparation to a boil.
3 - Add the white chocolate chunks into a mixing bowl and pour the boiled glaze over them. Emulsify the mixture with a hand blender.
4 - Melt the gelatin in the microwave, add it to the mixture, and blend some more.
5 - After the gelatin is fully incorporated into the glaze, color it with the food coloring of your choice and blend it again.
6 - Cover the mixing bowl with food wrap and place it in the fridge overnight.
Tip: Help the planet by choosing biodegradable food wrap instead of plastic :)
The next day...
Finishing The Yule Log
1 - Transfer the glaze to a pouring jug and microwave it until melted. The temperature should not exceed 82°F (28°C). Set it aside.
Tip: We recommend using a good kitchen thermometer for accuracy. If the glaze is too hot, it won't set properly on the cake and will look transparent.
2 - Place a cooling rack over a baking tray Unmold the yule log cake and transfer it to the cooling rack.
3 - Pour the mirror glaze over the yule log, let the glaze drip for about 1 minute, and carefully transfer the cake to a plate to thaw using large offset spatulas.
Garnish
1 - Combine the heavy cream, greek yogurt, and honey in a mixing bowl and whip until stiff peaks.
2 - Transfer the whipped cream to a piping bag with a round pastry tip and pipe a line of dots on top of and on each side of the yule log. Then, pipe the whipped cream at each end of the cake all the way to the top.
3 - Top the whipped cream with a few raspberries and fresh mint leaves.
Tip: Here, we are using tweezer tongs for the pro touch.
4 - Let the yule log cake thaw for about 2 to 3 hours.
5 - Enjoy!
Watch our video for more details!
- - - - - - - - - - - - - - - - - - - - - - - - - - -
Disclaimer: baking/cooking times vary according to each appliance. Make sure to always control halfway through for success.
- - - - - - - - - - - - - - - - - - - - - - - - - - -
🎬 Everything we used for this recipe:
🍶 Kitchenware: Coming soon!
🍳 Ingredients: Coming soon!
- - - - - - - - - - - - - - - - - - - - - - - - - - -
Enjoy our content?
You can help us keep the show going by becoming one of our generous patrons on Youtube and Patreon. Thank you so much for your support! 💖
The information provided in this recipe is not nutritional or medical advice. Please read our disclaimer.