


Sourdough Chocolate Babka
This post may contain affiliate links. Please read our disclosure policy.
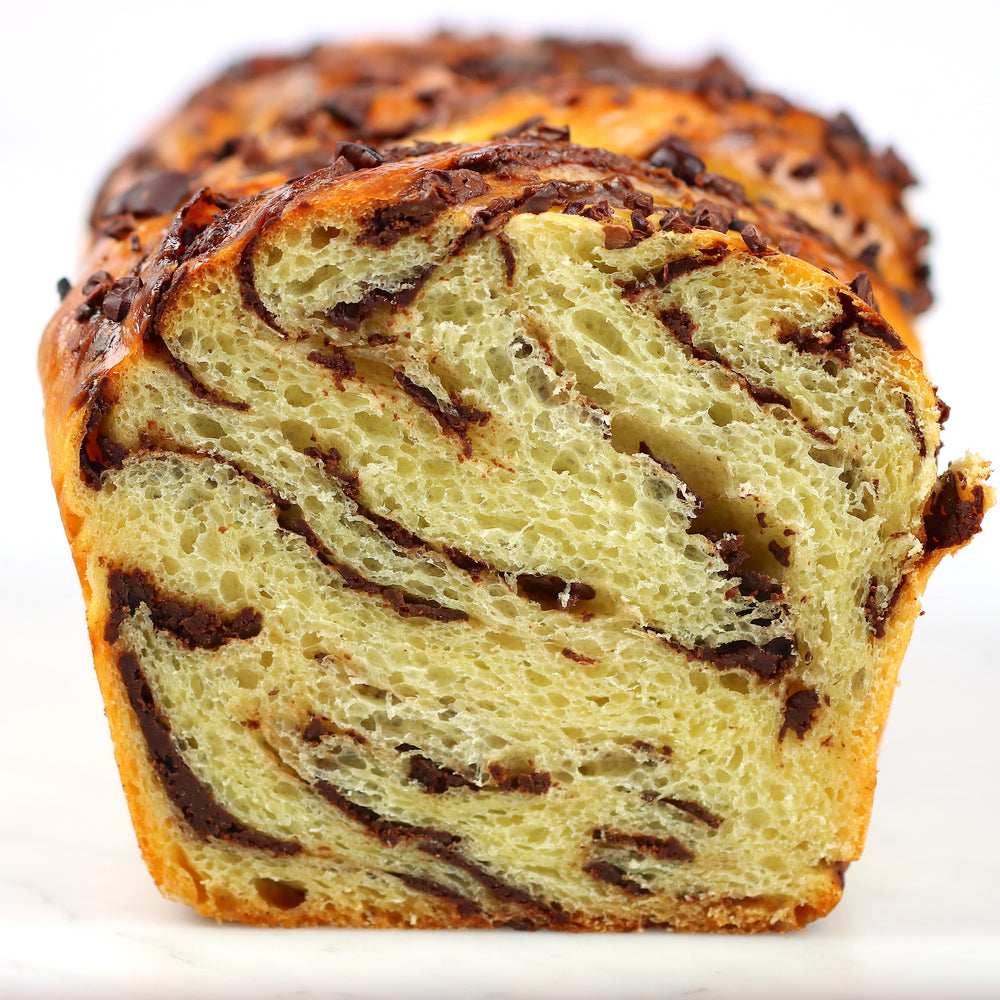
Discover the most amazing sourdough babka recipe! This fluffy chocolate brioche bread was made for you.
We love using a good homemade starter when making any type of bread. It adds flavor and fluffiness, and always makes bread taste better!
If you’d like to try out this recipe, check out our Ultimate Sourdough Starter Guide.
For this recipe, we used chocolate and almond butter for the filling. But honestly, this bread will be good with just about anything! So feel free to get creative and add your favorite flavor combination.
Bon appétit!
Difficulty: ![]()
![]()
![]()
Prep time: 30 mins / Cook time: 45 mins / Servings: 10 servings
- - - - - - - - - - - - - - - - - - - - - - - - - - -
Sourdough Babka Bread
2 oz (56ml) - Milk
1½ tsp (5g) - Dry yeast
15.8 oz (450g) - Flour
2 oz (56g) - Xylitol
2 tsp (10g) - Salt
5.3 oz (150g) - Starter
7.75 oz (220g) - Butter
6 - Eggs
Chocolate Almond Spread
5.3 oz (150g) - Dark chocolate
3.5 oz (100g) - Almond Butter
Egg wash
1 - Egg yolk
1 tbsp (15ml) - Milk
- - - - - - - - - - - - - - - - - - - - - - - - - - -
We advise that you prepare all the above ingredients before starting.
You will typically need: a scale, measuring cups, mixing bowls.
Sourdough Babka Bread
1 - Pour the milk into a small bowl and microwave it for about 15 seconds (or until lukewarm).
Tip: We store our ingredients in these mixing bowls and mini glass bowls from Duralex while cooking. We love Duralex for their quality products and low prices!
2 - Add the dry yeast to the milk, give it a quick mix using a spoon and set aside to rest for 5 minutes.
3 - Add the flour, xylitol, and salt to a stand mixer bowl. Whisk them together, pour the yeast mixture in as well as the starter before mixing briefly again.
4 - Next, crack the eggs in a measuring cup, and slowly add them to the mixing bowl while kneading.
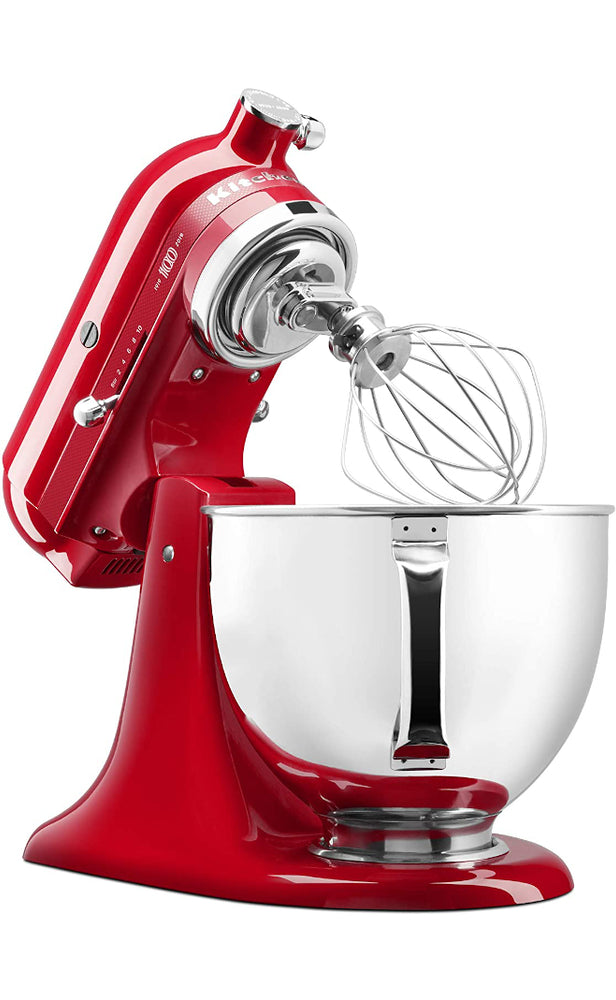
Tip: The KitchenAid Artisan Design Series and the KitchenAid Professional 600 Series are superstars among stand mixers and will look amazing in your kitchen!
5 - Once you added all the eggs, knead at medium speed for about 5 minutes.
6 - After 5 minutes, gradually add the butter and knead for an additional 12 minutes. Then, scrape the dough from the side of the bowl, cover it with a kitchen towel and let it proof for 1 hour.
Chocolate Almond Spread
1 - Add the dark chocolate to a mixing bowl and microwave it until melted.
2 - Mix the almond butter with the melted chocolate until well combined.
Assembling The Babka
1 - Dust some flour on your work surface as well as both sides of the babka dough.
2 - Place the dough on your work surface and spread out the dough in a large rectangle, using a rolling pin.
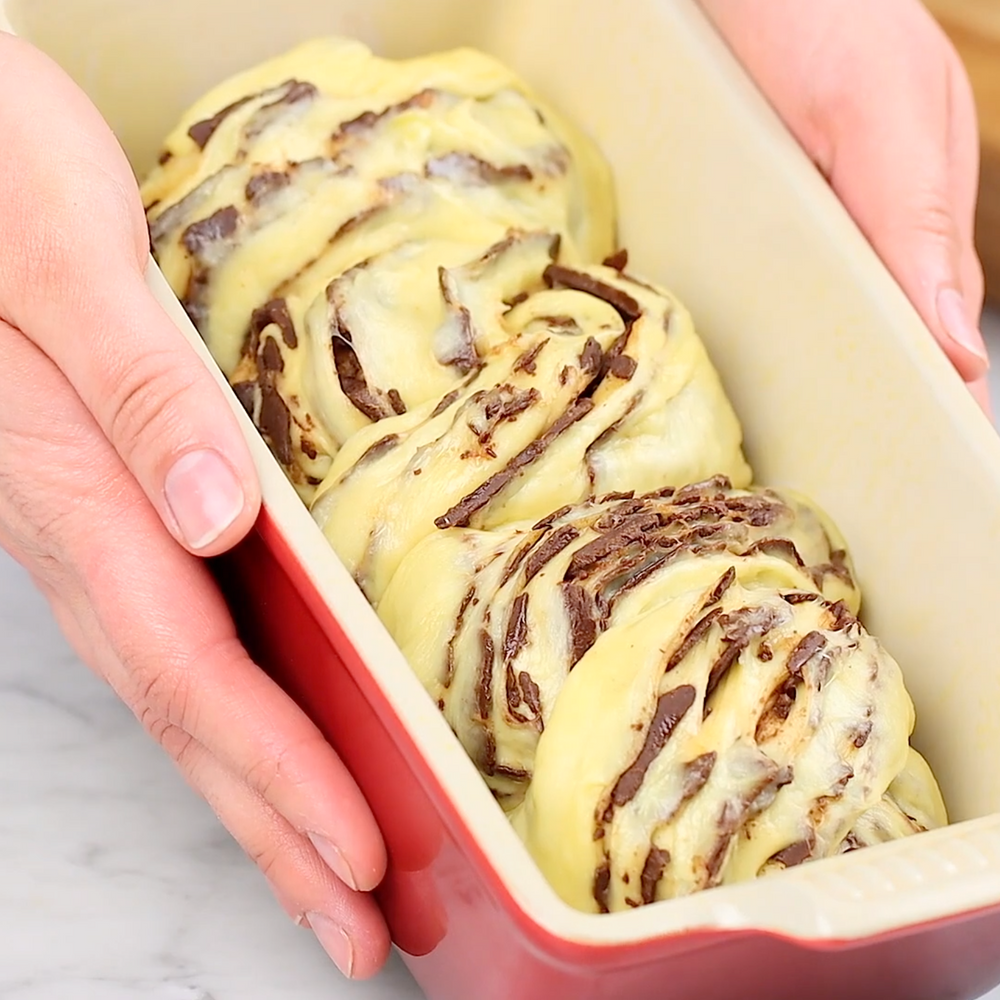
3 - Pour the chocolate almond spread on the entire surface of the dough using a spatula, and gently start to roll the babka. Then, cut it in half using a sharp bread knife.
4 - Braid the two halves tight together. Then, gently place the babka in a loaf pan and let it proof for 2 hours in a warm spot in your kitchen. While proofing, preheat your oven to 320°F (160°C).
Egg Wash
1 - Whisk one egg yolk with a tablespoon of milk together until fully incorporated.
2 - Brush the proofed babka with the egg wash using a pastry brush (boar/silicone) and sprinkle some cocoa nibs on top. Then, transfer it to the oven to bake for about 45 minutes.
3 - Once baked, allow the bread to cool completely in the pan before unmolding it.
4 - Enjoy!
Watch our video for more details!
- - - - - - - - - - - - - - - - - - - - - - - - - - -
Disclaimer: baking/cooking times vary according to each appliance. Make sure to always control halfway through for success.
- - - - - - - - - - - - - - - - - - - - - - - - - - -
🎬 Everything we used for this recipe:
🍶 Kitchenware: Coming soon!
🍳 Ingredients: Coming soon!
- - - - - - - - - - - - - - - - - - - - - - - - - - -
Enjoy our content? Support us! 💖
The information provided in this recipe is not nutritional or medical advice. Please read our disclaimer.